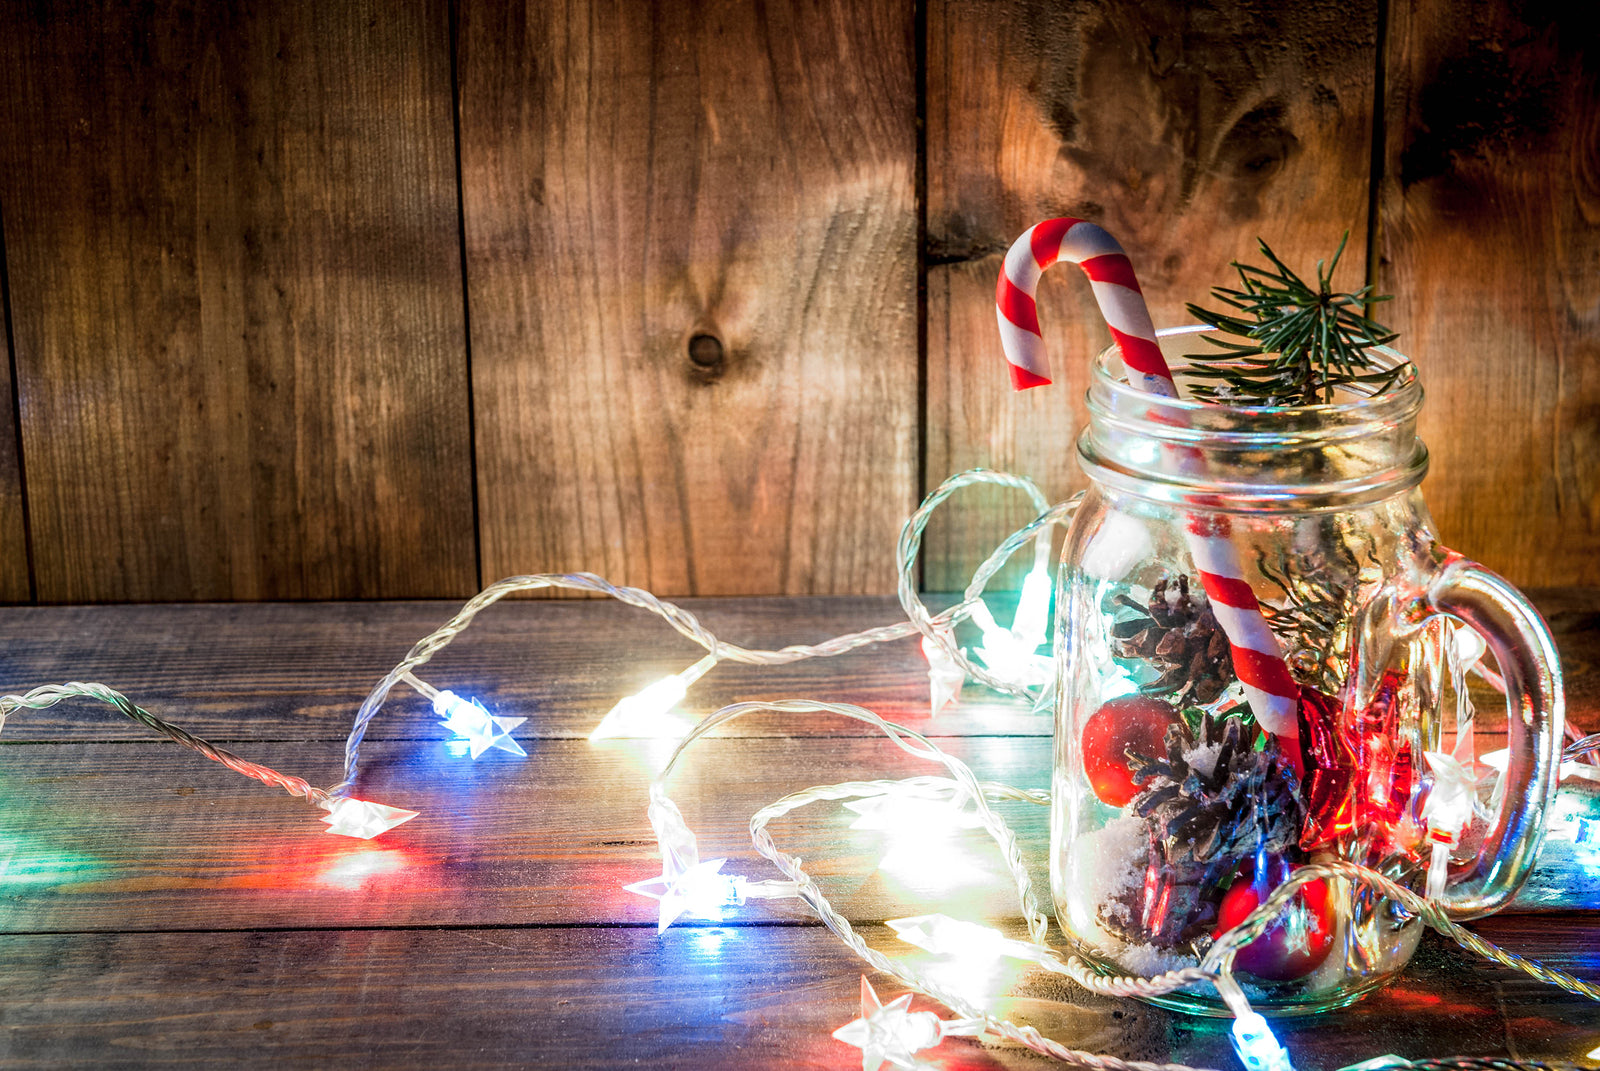
Shake Up a Little DIY Holiday Cheer: 3 Steps To Making a Mason Jar Snow Globe
Snow globes add a little holiday cheer to any empty shelf or counter, but traditional globes can be expensive. An inexpensive way to achieve that snow globe appeal while demonstrating your crafting skills is with a Mason jar. All it’ll take is three steps and a few supplies:
- Mason jar
- Tree decoration or ornament
- Glue gun and clear glue
- Warm water
- Glitter
- Spoon
- Glue the Ornament to the Lid
Use the glue gun to secure the tree ornament to the underside of the Mason jar lid. You don’t have to apply a lot of glue – only enough for it to stick – and then let it dry.
- Pour Glue, Water and Glitter Into the Jar
Next, you can pour about 2 ounces of regular glue into the open jar followed by 1 cup of warm water. Stir this mixture thoroughly with the spoon. Once mixed, add 2 tablespoons of glitter before continuing to stir, spreading the glitter evenly through the mixture.
- Tighten and Seal the Lid
Once everything is mixed thoroughly and the ornament is secured to the lid, you can gently submerge the ornament in the jar while replacing the lid on the jar. Slowly tighten the lid, ensuring it is secure – you may want to add more glue for an airtight seal. Then, turn it over and enjoy.

If you liked this craft tutorial, then you may enjoy some of the other tutorials and products BestPysanky has to offer. Spend a little more time exploring, and find the handcrafted treasures you’ve been looking for.

